|
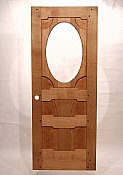
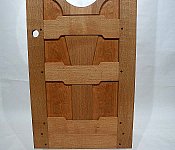
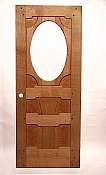
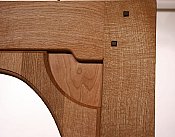
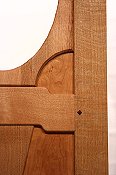
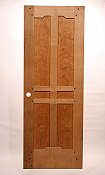
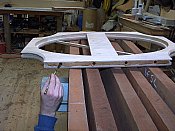
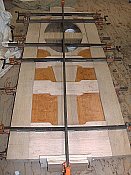
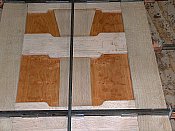
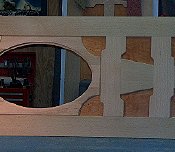
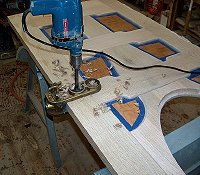
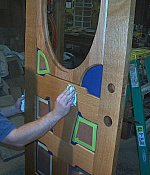
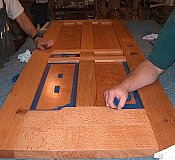
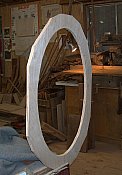
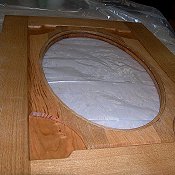
These are The Aloha Doors They are two interior doors They are a full 1-5/8" thick (rather than 1-3/8") They are made of quartersawn California Golden Oak One is a master bedroom door and one is Neriahs Bedroom door. The panels are bookmatched figured Cherry The stained glass will be designed and provided by the client. CLICK HERE to view the making of Neriahs Bedroom Door |
CLICK
HERE to view the
making of Neriahs Bedroom Door
(the other door)
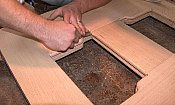
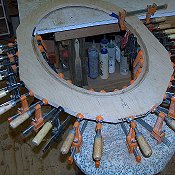
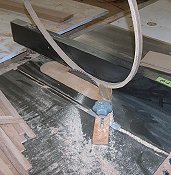
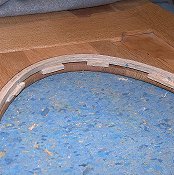
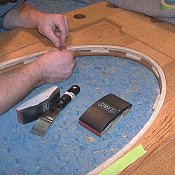
This is the "history" of the construction of The Aloha Door
 |
 |
 |
 |
|||
|
|
|
|
||||
|
|
||||||
 |
 |
 |
 |
|||
|
the Bathroom Door |
|
|
|
|||
|
|
||||||
 |
 |
 |
 |
|||
|
|
|
|
|
|||
|
|
||||||
 |
 |
 |
 |
|||
|
|
|
|
|
|||
|
|
||||||
 |
 |
 |
 |
|||
|
( I hope) |
|
|
|
|||
|
|
||||||
 |
 |
 |
 |
|||
|
|
|
|
|
|||
|
|
||||||
 |
 |
 |
 |
|||
|
|
|
|
|
|||
|
|
||||||
 |
 |
 |
 |
|||
|
|
|
|
|
|||
|
|
||||||
 |
 |
 |
 |
|||
|
|
|
|
|
|||
|
|
||||||
 |
 |
 |
 |
|||
|
|
|
|
|
|||
|
|
||||||
 |
 |
 |
 |
|||
|
|
|
|
|
|||
|
|
||||||
 |
 |
 |
 |
|||
|
|
|
|
|
|||
|
|
||||||
 |
 |
 |
 |
|||
|
|
|
|
|
|||
|
|
||||||
 |
 |
 |
 |
|||
|
|
|
|
|
|||
|
|
||||||
 |
 |
 |
 |
|||
|
|
|
|
|
|||
|
|
||||||
 |
 |
 |
 |
|||
|
|
|
|
|
|||
|
|
||||||
 |
 |
 |
 |
|||
|
|
|
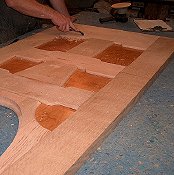
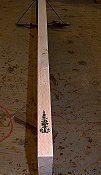
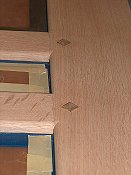
...... not bad !! |
|
|||
|
|
||||||
 |
 |
 |
 |
|||
|
|
|
|
|
|||
 |
 |
 |
 |
|||
|
|
|
|
|
|||
|
|
||||||
 |
 |
 |
 |
|||
|
|
|
|
|
|||
|
|
||||||
 |
 |
 |
 |
|||
|
|
|
|
|
|||
|
|
||||||
 |
 |
 |
 |
|||
|
|
|
|
|
|||
|
|
||||||
 |
 |
 |
 |
|||
|
|
|
|
|
|||
|
|
||||||
 |
 |
 |
 |
|||
|
|
|
|
|
|||
|
|
||||||
 |
 |
|||||
|
|
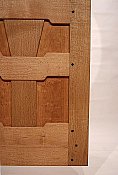
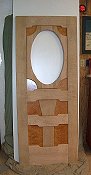
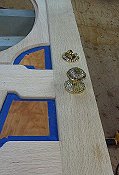
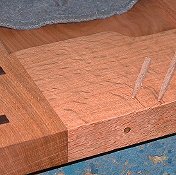
The steel screws will be replaced with brass screws when the stained glass is installed. |
|||||
|
|
CLICK HERE to view the making of Neriahs Bedroom Door (the other door)
Click Here to see how the shipping case for these doors is constructed and packed
|
|