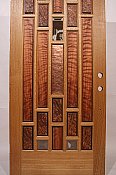
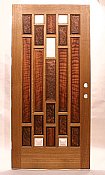
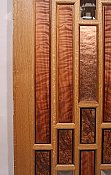
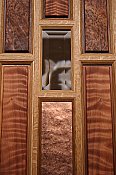
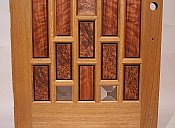
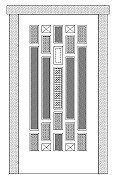
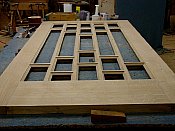
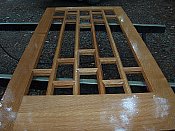
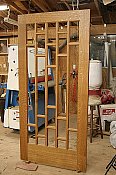
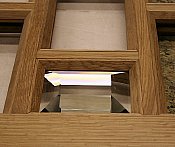
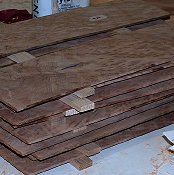
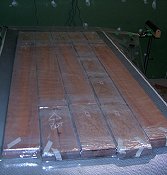
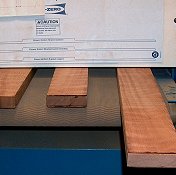
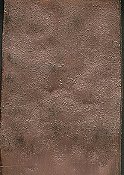
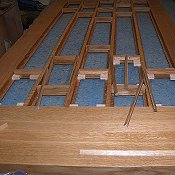
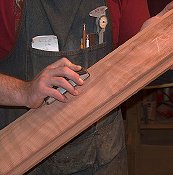
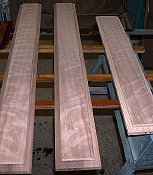
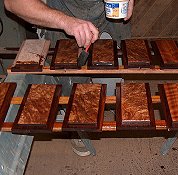
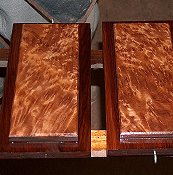
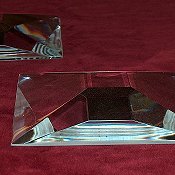
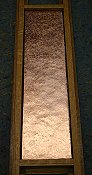
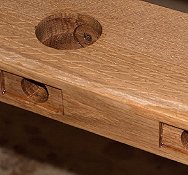
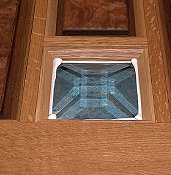
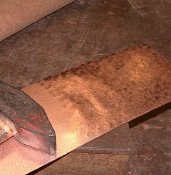
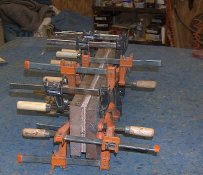
The Liberty

It is 40"w x 84" tall
It is made of quartersawn White Oak
It has Old Growth curly and burl Redwood panels
The "jewels" are 3/4" hand-beveled Starfire Glass

Click on Any Image to Enlarge


Here is the completed Liberty Door

The long panels are bookmatched Curly Redwood

..... this isn't your ordinary Redwood !!

Here is a close-up of the hammered copper panel

The smaller panels are bookmatched old growth Redwood burl

a close-up of the figured old growth Redwood

The center "lite" is beveled, insulated, and thermal

There are 4 hand-beveled Starfire "jewels" that are 3/4 of an inch thick


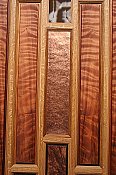
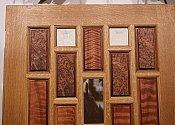
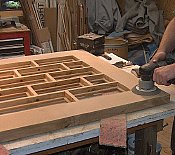
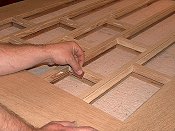
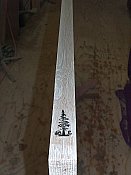
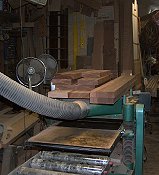
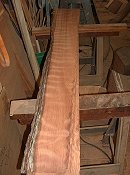
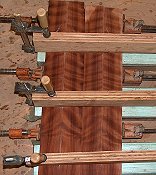
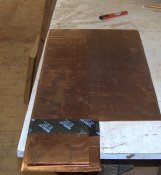
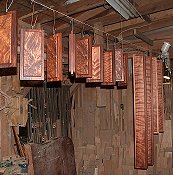
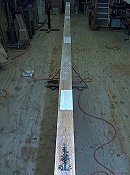
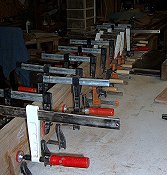
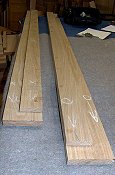
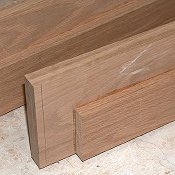
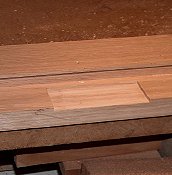
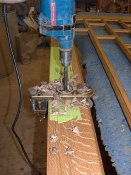
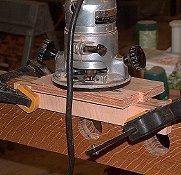
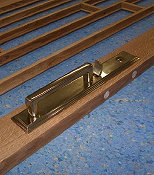
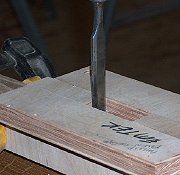
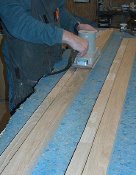
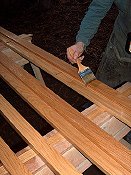
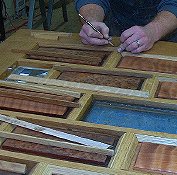
Below is the history of the creation of The Liberty

Click on Any Image to Enlarge

Here is the original drawing of The Liberty ......
how'd I do ??


11.jpg

12.jpg

13.jpg

14.jpg
Here the quartersawn door frame is fitted

All of the vertical mullions are cut together to insure and exact length

.......... and ........ they fit, and are then shaped

then each and every horizontal mullion is hand fitted and labeled so they will be assemble in the correct order

15.jpg

16.jpg

17.jpg

18.jpg
After the fitting of the mullions I make temporary "spacers".

The spacers allow me to apply even clamping pressure with bar clamps

Here the door is glued and clamped

There are 15 clamps on this door and the door will remain in clamps to cure for 72 hrs

Here is the door ... out of clamps and the spacers have been cut out, so as not to tear or damage the delicate mullions

The machine and then hand sanding process begins and goes on for about three days

Then the hand sanding begins ...... each and very molded edge is sanded to a 220 grit finish ..... wall furniture!!

When the door is "perfect" ...... I leave my makers mark (with pride)

Then the process of oiling begins. Over 10 days, 4 coats of varnish oil is applied and allowed to soak in for the long term protection of this door

Here is the oiled door ..... waiting for me to find the perfect figured wood for the panels

We have ordered 4 pcs of 3/4" Diamante Starfire for the 4 "squares" in the door

Here are some of the panel blanks, ruffed out and allowed to "settle down" before machining

Here are the blanks after final sizing

Here is some of the Old Growth Curly Redwood that will be used in many of the panels ..... it is beautiful !!

The top and bottom, very center utilizes "chevron cut" bookmatched curly Redwood

Here is the copper for the center panel ....... with some scrap for "practice" my texturing ideas
 

Here are the bookmatched Redwood burl pieces that will make up some of the panels in the door

Here are all of the panels in my vacuum press ........ where they stay under pressure for 36 hrs

and here are the figured panels getting their first sanding

Here is the the proposed finish for the copper plate panel in the door

While we are finishing the panels and waiting on the glass, we started cutting and pre-fitting each individual stop.

and the chamfer on the bevel is then hand sanded

Here is the sanded panel ...... ready for the first coat of varnish oil

and the process begins ..... there will be four coats of varnish oil

Most of the panels are Redwood burl

..... and some are heavily quilted and curly Redwood

the panels will "hang around" for 3 days curing time between each coat

Here are the Starfire jewels that will be used in this door

Here I am mortising the door for 4 hinges

Here is the White Oak pieces ..... clamped together to make the jamb stock

here are 2 of the jamb pieces

I have grooved these for weatherstipping and can now sand and oil the jambs

..... after I mortise for the 4" hinges

Here is the hammered copper panel for the door center

Here I bore for the handle set

and rout for the mechanism

a preview

the routed corners are chiseled square

I also "backbevel" the door edge 1-1/2 deg for easy opening

......... yeah ....... they fit !!

I make sure to oil inside of the handle set

Here we sand the 1-1/2" this jamb pieces

....... and oil ....... both sides ... 4 coats

Each and every stop is hand fitted ..... and it shows.

Each stop is caulked with a siliconized latex ....... that turns clear when it cures

the excess caulking his removed

Here is a part of the copper panel in the process of being hammered

Then the 2 copper sheets are laminated to exterior plywood

....... the finished panel


Return to Gallery