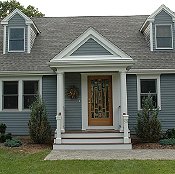
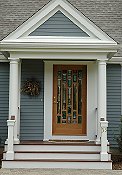
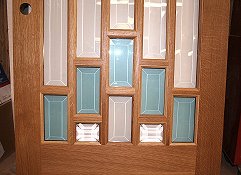
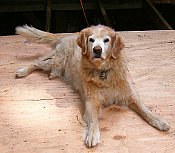
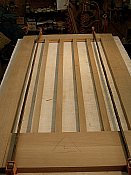
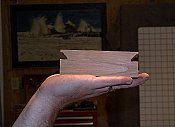
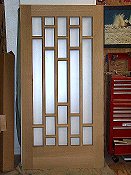
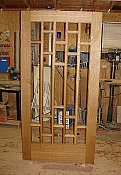
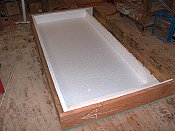
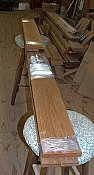
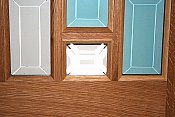
I call this door
"The Cape"
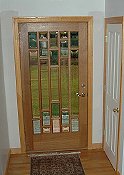
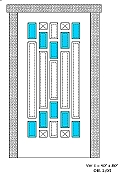
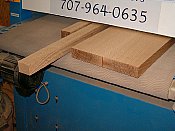
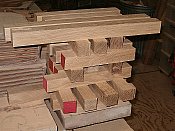
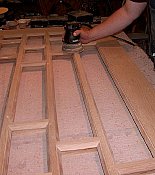
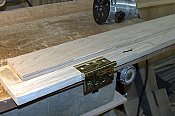
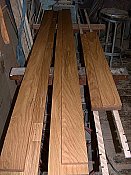
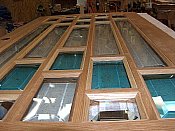
This door is made of quartersawn White Oak
It is 40" x 80"
and is now "living" in Cape Cod

Here is the entry "before"

.....and here is the entry ... after

a closer look

a view from the interior


Click Here to View the Installation of The Cape

All of the glass is beveled and thermal

The Azure blue glass is also beveled

Here is one of the 4 Starfire hand beveled jewels


entrybf.jpg

entry1.jpg
Version 3 ~ 40" wide ~The drawing

The Entry ~ before !!


Return To Gallery


Here is the history of the construction of The Cape

Click on ANY Image to Enlarge

...........................
The project begins. All of the pieces of the door are roughed out then allowed to "relax" and settle down

We ALL wait in eager anticipation to watch this door come into reality!!

Here is a view of the quality of the close grain of the White Oak

And some of it is so fine grained ... it is just amazing quality.

The rough lumber is joined and the surfaced

and then joined on edge

some of the wood has so many medullary rays that it must be surface sanded

Here are the pieces for the short mullions

Here is the door "frame"

The long mullions are first cut to length and the coped on the ends

The long vertical mullions are then fit in their place

then ...... one by one the short mullions are fitted in their place

Each one of these 16 mullions are fit to fit perfectly

It took 5-1/4hrs to "cope" the 16 short mullions ..... but the fit is worth it !!

this is the coping process ..... now I will finish the "sticking" process by molding the edges ........

Here is a completed mullion

These 16 pieces took 6 hours to complete

The door has to be assembled from the inside out

Clamping of this door is am interesting array of 5 different types of clamps

spacer blocks are placed between the mullions so that pressure can be exerted to clamp the joints during curing

Here is the door ........ in all its' glory ....... now the cleaning of all the excessive glue is removed

the nice fitting joints are cleaned with water and a toothbrush.
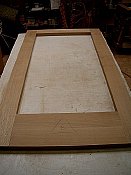
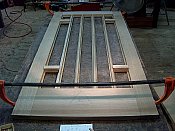
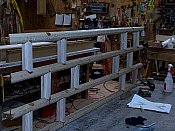
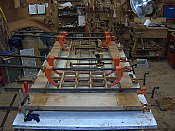
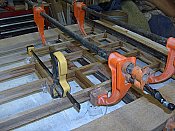
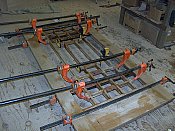
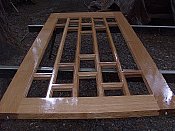
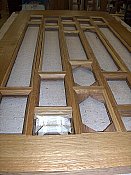
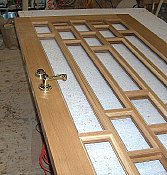
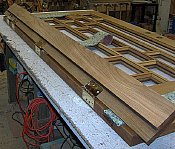
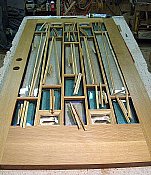
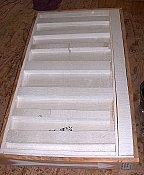
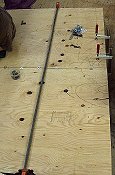
It took 4 hrs to assemble and clean this beautiful door

the glue I use is a 2 part urea resin , which starts out water soluble and within hours becomes water proof and takes up to 72 hrs to cure and harden

Here is he "raw" door out of clamps ......... it has very nice proportions.


Each and every inch of the molded detail is hand sanded 3 times with 3 different grits of sandpaper

Then both sides are finish sanded

and finish sanded ...... to 220 grit ..... which is furniture grade !!

When I prehang the door, I back bevel the leading edge to 2deg for ease of opening

Since this door will weigh a hefty amount ......I use 4 hinges and place two of them toward the top of the door, since 85% downward force pull at the top of the door and jamb.

ahhhhh ...... all of the hinges are mortised and I sign the door

I was working on my roof the other day ......... and took this picture of the first coat of oil soaking into the door.

Here is "The Cape" after the first coat of varnish oil ........ The door will cure for 4 days till the next, of 4, coats.

Here are some "scraps" from the door wood ...... I plane it down and make the glass stops from this wood.

I use "scraps" from the door stock so that the stops match the wood in the door ..... here are the stops ready for sanding and oil

The jambs are made, kerfed for weather-stripping, and the mortised for the hinges

here is a view of the jambs ........ I have 2 hinges at the top of the jamb because of the weight of the door

The jambs are sanded and prepped for oil

Here the door receives its' 3rd coat

The jambs have 3 coats of oil and are sealed on both sides

Here are the short stops, curing after being soaked in oil

The long stops cure at least 72 hrs between coats

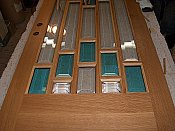
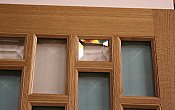
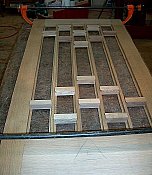
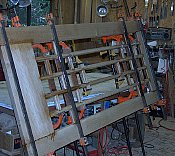
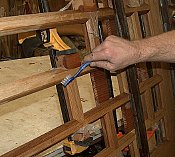
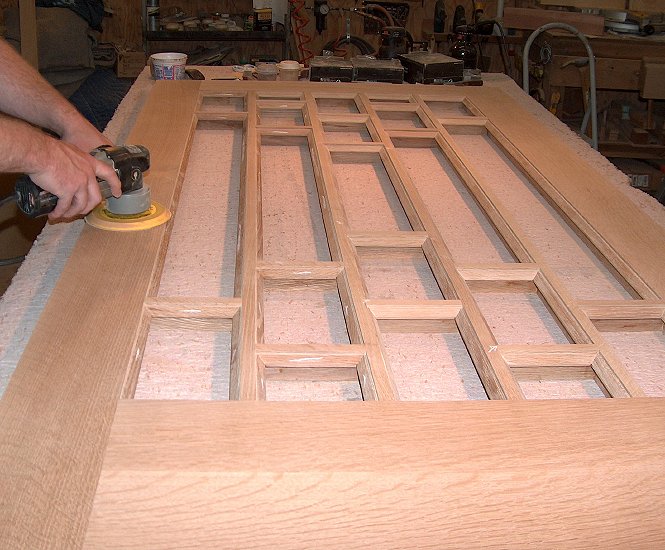
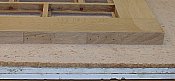
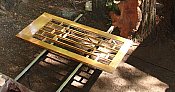
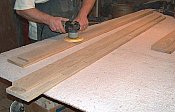
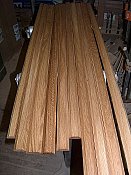
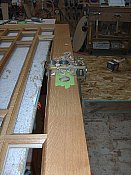
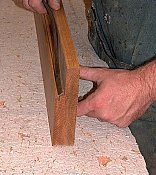
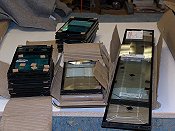
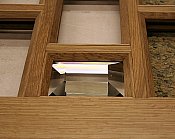
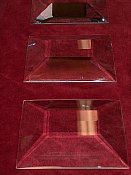
Here is the 4th and last coat of varnish oil

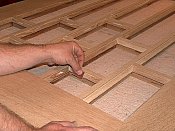
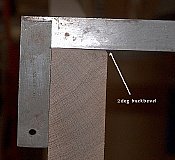
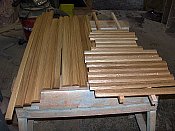
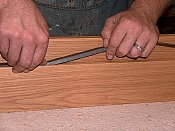
We are still waiting for most of the glass ........ but we have stared cutting the 186 individual miters in this door

Here are some pictures of the 3/4" thick, hand beveled, Diamante Starfire


Here is a view of the Jewel in the door

Here I am boring for the lockset and deadbolt and then will oil all raw wood

a sneak peek

Here we are placing the weather stripping in the White Oak jambs

while were waiting on the glass we start the shipping crate....... it is screwed together, and very solid

the door will be wrapped in plastic and rest on 2 different types of foam

Here is an end view the the solid White Oak, 1-1/2" jamb with weather-stripping

....... here I am putting the jamb together ....... hinge side first

Here is the door prehung in the jamb ......... then I disassemble the jamb and ready it for shipment

here is he jamb wrapped and ready for its' trip to Cape Cod

Here are the beveled units ready for installation

Here the glass is set into the rubber spacers and all the stops are ready to be attached

Each unit is set in a special caulking that turns clear when dry

All of the glass is "bedded" and the stops are attached with stainless steel fasteners

Another view

Here the finished door is first wrapped in plastic before placed in its' shipping case

Here is the door, jamb, and hinges are placed in the shipping case

The door is sandwiched between walls of foam

Here is one of the hand beveled Starfire jewels permanently installed in the door


Click Here to View the Installation of The Cape

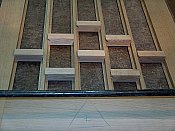
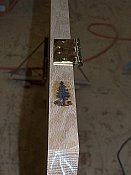
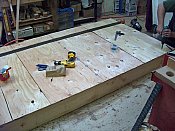
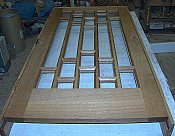
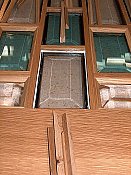
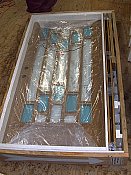
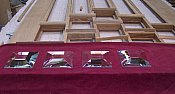
The last wall is screwed on to the frame and the door is ready to make its journey across the country


Return To Gallery